Consent Mode Monitor Google Sheets™ Extension
Using Consent Mode Monitor’s Google Sheets™ extension is the easiest way to check the compliance of countless websites.
- ◾ Free to start
- ◾ No Credit Card Required
How to use the Consent Mode Monitor Google Sheets™ add-on
Turn a sheet into a fast consent audit dashboard. Scan website URLs, score GTM containers, and schedule ongoing checks from one sidebar.
This guide shows you how to get started, use each part of the sidebar, and review your results inside Google Sheets.
Step 1: Get a licence key (free to start)
Get a license key to start using the Sheets add-on. You’ll need at least one licence key per Google account that uses the add-on.
Start free to try the workflow, then upgrade for higher limits or usage-based billing.
Step 2: Install the add-on
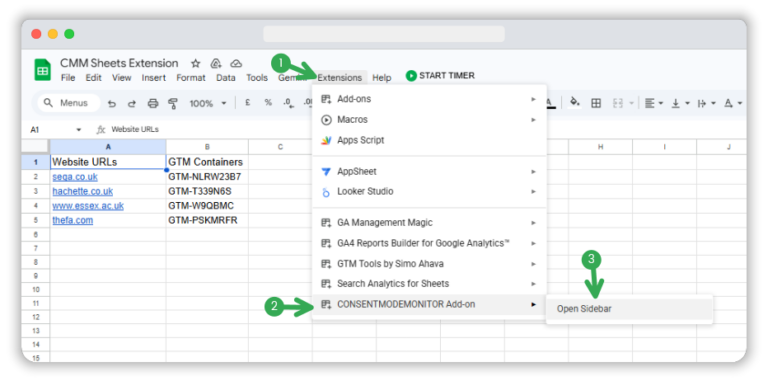
Install Consent Mode Monitor from the Google Workspace™ Marketplace. Once installed, open your spreadsheet, go to the Extensions menu, hover over Consent Mode Monitor Add-on, and click Open Sidebar.
The first time you run it, Google will ask you to authorise the add-on. Click OK to begin, choose your Google account, then click Continue on the sign-in screen. On the permissions page, select all the requested permissions and click Continue again to complete the setup.

Once authorised, the Consent Mode Monitor sidebar opens on the right-hand side of your spreadsheet.

Step 3: Enter your licence key in the sidebar
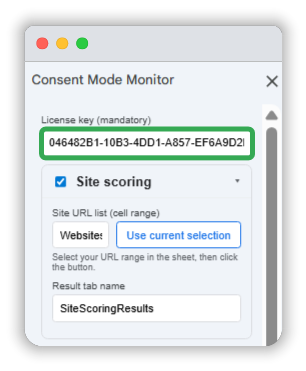
At the top of the sidebar, paste in the licence key you received by email. It is required before you can run any reports.
Once the key is in place, you can start running your consent setup checks.
Step 4: Use Site scoring when you’re starting with website URLs
If you only have a list of website URLs, begin with the Site scoring card. Select the cells in your sheet that contain the URLs you want to check.
Then click Use current selection inside the Site scoring card. After that, choose the result tab name where you want the output saved.

When you run the report, the add-on scans those websites and writes the results into your chosen site scoring tab.
This is the best route when you want to start from a website list rather than a ready-made GTM container list.
Step 5: Use GTM scoring in the way that fits your workflow
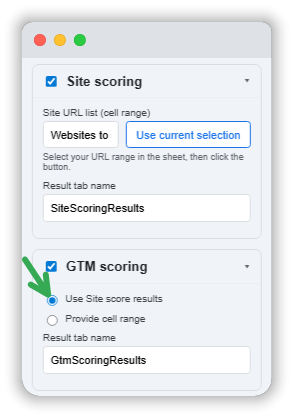
The GTM scoring card gives you two ways to run checks.
Option 1: Use GTM containers found from site scoring
If you started with website URLs, keep Use Site score results selected in the GTM scoring card. This tells the add-on to use the GTM containers discovered during the site scan.
You can then set the result tab name for the GTM scoring output and run the report.
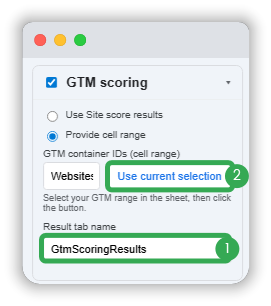
Option 2: Provide your own GTM container ID range
If you already have the GTM container IDs you want to check, select those cells in your sheet, choose Provide cell range in the GTM scoring card, and click Use current selection.
Then set the output tab name and run the report.
This route is useful when you already know which GTM containers you want to audit and do not need to begin from website URLs.
Step 6: Run selected reports and review the output tabs
Once you’ve finished setting up the cards you want to use, click Run selected reports at the bottom of the sidebar.

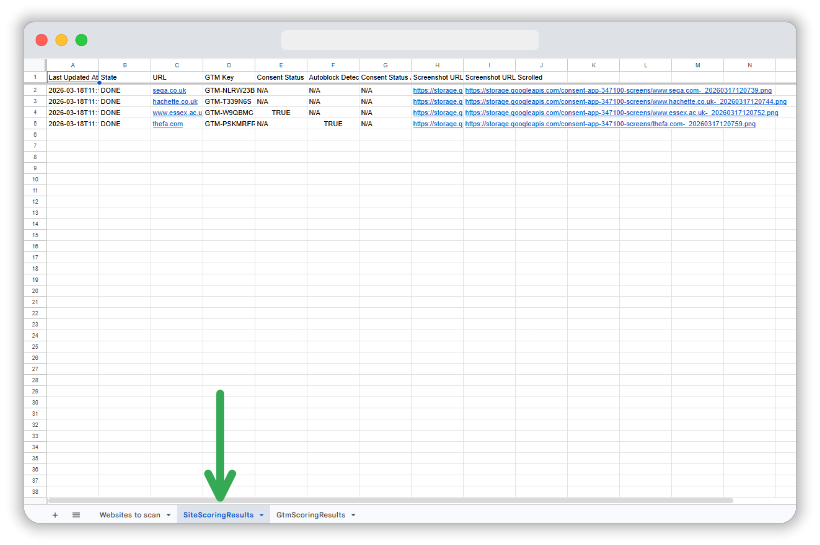
The SiteScoringResults tab shows the website-level scan output. This is where you can review the URL checked, GTM container found, consent-related status fields, and screenshot links captured during the site scan. It gives you a quick view of what was detected on each website before you move into the GTM-level findings.
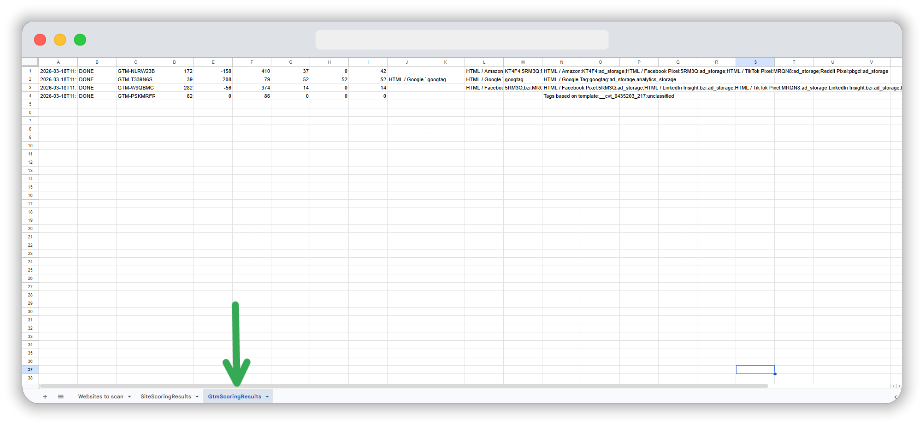
The GtmScoringResults tab shows the GTM scoring output for each container. This is where you can review the overall score, issue counts, and the tag-level details that help explain what is affecting the result. If you need to inspect consent problems more closely, this is usually the tab you will spend most time reviewing.
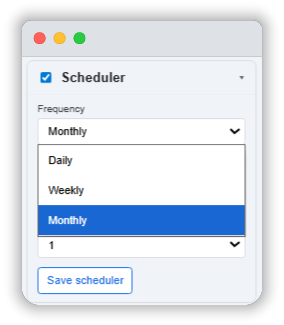
Step 7: Schedule recurring scans for ongoing monitoring
If you want to monitor consent issues over time, use the Scheduler card. You can choose a daily, weekly, or monthly frequency, then save the schedule.
This is helpful when you want regular checks running in the background without needing to repeat the setup manually each time.
Recurring scans are especially useful for teams that manage multiple client sites or want a steady audit trail inside Google Sheets.
Final thoughts
The Consent Mode Monitor Google Sheets add-on gives you a simple way to bulk-check websites, review GTM scoring, and keep monitoring active over time.
Start with a licence key, open the sidebar, choose the scoring method that fits your data, and run the reports directly from your sheet.
If you need a lightweight consent audit workflow inside Google Sheets, this is a practical place to start.